
Whether you’re a seasoned fitness enthusiast or just starting your fitness journey, resistance bands are a fantastic tool to incorporate into your routine.
These stretchy bands may seem unassuming at first, but they pack a powerful punch to enhance your strength, flexibility, and overall fitness.
In this blog post, we’re about to let you know about the best compound resistance band exercises.
Not only are these exercises incredibly efficient, but they also engage multiple muscle groups simultaneously, maximizing your workout efficiency and getting you closer to your fitness goals.
We’ll be showcasing some of the best compound exercises you can perform with resistance bands, making it easier for you to add variety and effectiveness to your workouts.
Compound Resistance Band Exercises To Do At-Home
Let’s take a look at the best exercises you can do with resistance bands at home:
1. Resistance Band Floor Press

The Resistance Band Floor Press primarily targets the chest, shoulders, and triceps.
This exercise is a fantastic alternative to traditional bench presses, as it allows for a full range of motion while providing constant tension on the muscles throughout the movement.
It helps to develop upper body strength, improve chest definition, and enhance shoulder stability.
The resistance band floor press is particularly valuable for those seeking to build upper body strength without the need for heavy weights or a bench press setup, making it an excellent option for home resistance band workouts or when access to a gym is limited.
Muscles Targeted: Chest, shoulders, triceps
Equipment Needed: Resistance band, sturdy anchor point
Step-By-Step Guide:
- Setup: Attach one end of the resistance band to a sturdy anchor point behind you (such as a bench or heavy piece of furniture) and the other end to each handle. Lie flat on your back on the floor with your knees bent and your feet flat on the ground. Hold one handle in each hand.
- Grip: Grip the handles with your palms facing away from your body and your hands shoulder-width apart. Your elbows should be bent at a 90-degree angle, and your upper arms should be parallel to the floor.
- Execution: Push the handles upward, extending your arms fully without locking your elbows. Squeeze your chest muscles at the top of the movement.
- Lowering: Slowly lower the handles back down until your upper arms are parallel to the floor, keeping tension on the resistance band throughout the exercise.
- Repetition: Perform the desired number of repetitions, focusing on controlled movements and maintaining tension on the resistance band.
2. Resistance Band Deadlift
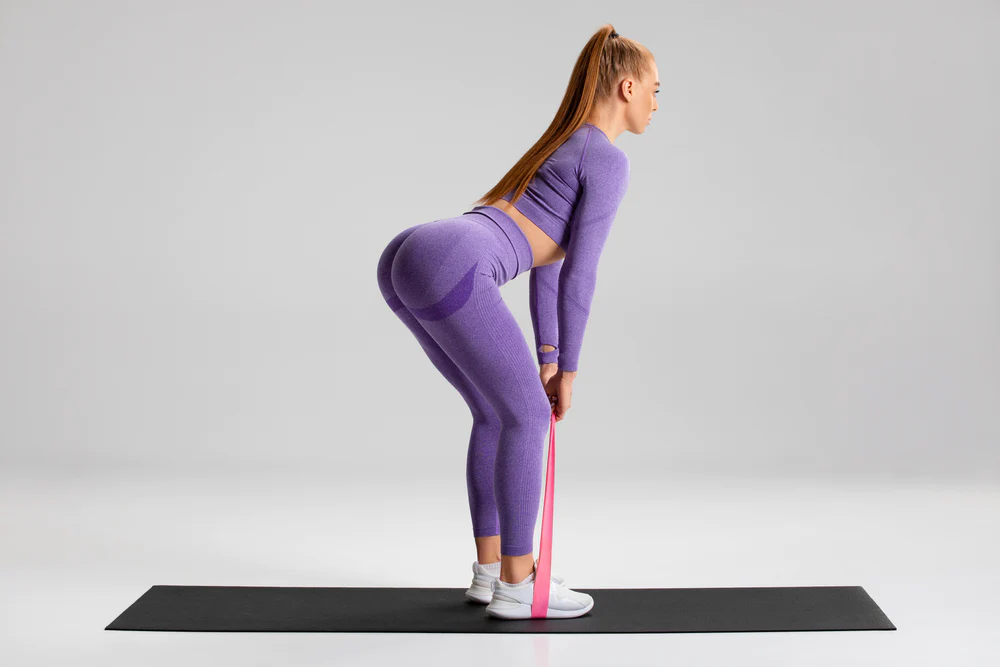
The Resistance Band Deadlift is a compound exercise that engages the lower back, glutes, hamstrings, and quads.
It mimics the motion of a traditional barbell deadlift but adds the resistance band for extra tension and muscle activation.
This compound resistance band exercise is highly effective for building overall lower body strength, improving posture, and increasing core stability.
The resistance band deadlift is particularly useful for individuals looking to strengthen their posterior chain and enhance their functional fitness, which is essential for daily activities and sports performance.
Muscles Targeted: Lower back, glutes, hamstrings, quads
Equipment Needed: Resistance band with handles, a sturdy anchor point
Step-By-Step Guide:
- Setup: Anchor the resistance band securely at a low point behind you. Step on the center of the band with both feet, shoulder-width apart. Hold one handle in each hand with your palms facing your thighs.
- Stance: Stand up straight with your chest lifted, shoulders back, and a slight bend in your knees. This is your starting position.
- Lift: Keeping your back straight and core engaged, push your hips back and bend at the hips and knees as you lower your torso toward the ground. Keep the resistance band close to your body throughout this movement.
- Extend: Push through your heels and stand up, extending your hips and straightening your knees to return to the starting position. Squeeze your glutes at the top of the movement.
- Repetition: Perform the desired number of repetitions, maintaining proper form and tension on the resistance band.
3. Resistance Banded Plank
The Resistance Banded Plank is a challenging variation of the standard plank exercise.
It primarily targets the core muscles, including the rectus abdominis, obliques, and transverse abdominis, while also engaging the shoulders, chest, and back.
By incorporating a resistance band around the upper back, this exercise intensifies the core activation, making it an effective way to build core strength and stability.
It also promotes improved posture, enhances balance, and reduces the risk of lower back pain. The resistance banded plank is an excellent addition to any core-strengthening routine.
Muscles Targeted: Core, shoulders, chest, and back
Equipment Needed: Resistance band
Step-By-Step Guide:
- Setup: Place the resistance band around your shoulders and across your upper back. Get into a plank position with your forearms on the ground and your elbows directly beneath your shoulders.
- Band Placement: Make sure the band is securely placed around your upper back and doesn’t slip off.
- Tension: The resistance band should create tension by pulling your shoulders backward slightly. This will engage your core muscles more effectively.
- Hold: Maintain a straight line from your head to your heels, engaging your core muscles to stay stable. Hold this plank position for the desired amount of time while keeping tension on the resistance band.
- Repetition: Perform the plank exercise for the recommended duration or as part of your workout routine.
4. Resistance Band Push-up

The Resistance Band Push-up is a superb upper body exercise that works the chest, shoulders, triceps, and core muscles.
It adds an extra challenge to the traditional push-up by providing resistance during both the lowering and raising phases of the movement.
This exercise helps increase upper body strength, develop muscular endurance, and improve overall chest definition.
It’s a versatile exercise that can be adapted to various fitness levels by adjusting the resistance band’s tension, making it an effective way to progress your push-up skills.
Muscles Targeted: Chest, shoulders, triceps, core
Equipment Needed: Resistance band, sturdy anchor point
Step-By-Step Guide:
- Setup: Attach the resistance band to a secure anchor point at chest height. Place your hands through the loops of the band and position them on the ground shoulder-width apart.
- Position: Assume a push-up position with your body in a straight line from head to heels. Your hands should be aligned with your shoulders, and your feet can be together or slightly apart.
- Push-up: Lower your chest towards the ground while keeping your body straight. As you push back up, the resistance band will add extra resistance, making the push-up more challenging.
- Repetition: Perform the desired number of push-ups while maintaining proper form and feeling the resistance from the band.
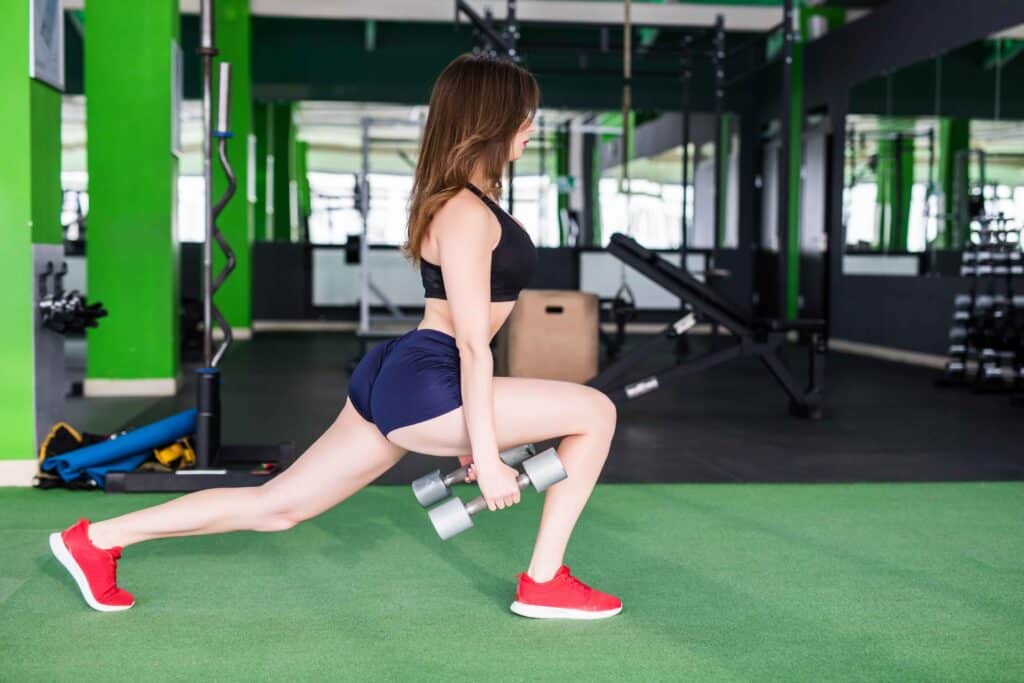
5. Lunges with Resistance Bands
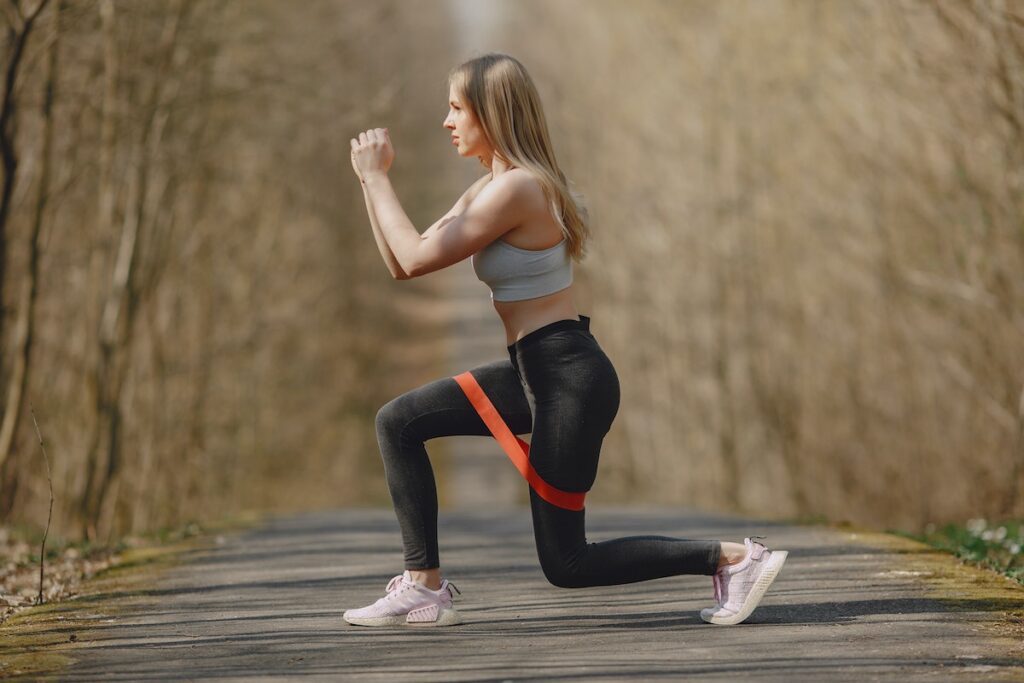
Lunges with Resistance Bands are a dynamic lower body exercise that targets the quadriceps, hamstrings, glutes, and calves.
Incorporating this compound resistance band workout into your fitness routine intensifies the exercise by adding constant tension to the leg muscles throughout the exercise. This helps build lower body strength, enhance balance and stability, and improve overall leg muscle tone.
Lunges are also effective for developing functional lower body strength, which is crucial for activities like walking, running, and climbing stairs.
The added resistance from the bands makes this exercise an excellent choice for individuals looking to challenge themselves and achieve well-rounded lower body fitness.
Muscles Targeted: Quads, hamstrings, glutes, calves
Equipment Needed: Resistance band, handles or loop band
Step-By-Step Guide:
- Setup: Step on the center of the resistance band with both feet, and hold the handles or loop band in each hand at your sides.
- Stance: Stand up straight with your feet hip-width apart. This is your starting position.
- Lunge: Take a step forward with one foot and lower your body until both knees are bent at 90-degree angles. Your back knee should hover just above the ground.
- Return: Push off with your front foot to return to the starting position.
- Alternate: Repeat the lunge movement with your other leg. Continue alternating legs for the desired number of repetitions.
- Repetition: Perform lunges with resistance bands according to your workout plan, focusing on good form and maintaining tension on the band.
Conclusion
Incorporating compound resistance band exercises into your fitness routine is like having a portable gym that fits right in your pocket.
These exercises are versatile, cost-effective, and can be done practically anywhere.
Plus, they target multiple muscle groups at once, accelerating your progress towards a fitter, stronger you.


